
If your lot is inside a Nanaimo Development Permit Area (DPA), you may need a Development Permit before you can get your building permit. The smart move is to confirm that early, because DPA rules can change your drawings, your required reports, and your schedule.
If you want a builder-led plan that accounts for permits from day one, start with a custom home builder Nanaimo who builds permitting into the pre-construction process.
This guide is Nanaimo-first. We also build across central Vancouver Island and on surrounding Gulf Islands, where the “development permit” idea can still apply but servicing assumptions and approval paths often look different.
What A Development Permit Is In Nanaimo
A Development Permit is a City approval that reviews your proposed development against Development Permit Area guidelines, and it can include conditions you must follow.
In plain terms, it’s a design and site-constraint checkpoint. It’s not the same as a building permit, and it can come first depending on where your lot sits and what you’re proposing.
The Eight Development Permit Areas The City Uses
The City of Nanaimo lists eight Development Permit Areas, and each one is basically a “trigger category” with its own guidelines.
Here’s what that usually means for a custom home owner:
- DPA 1 Environmentally Sensitive Areas: you’re dealing with sensitive ecosystems, setbacks, and often tighter site disturbance rules.
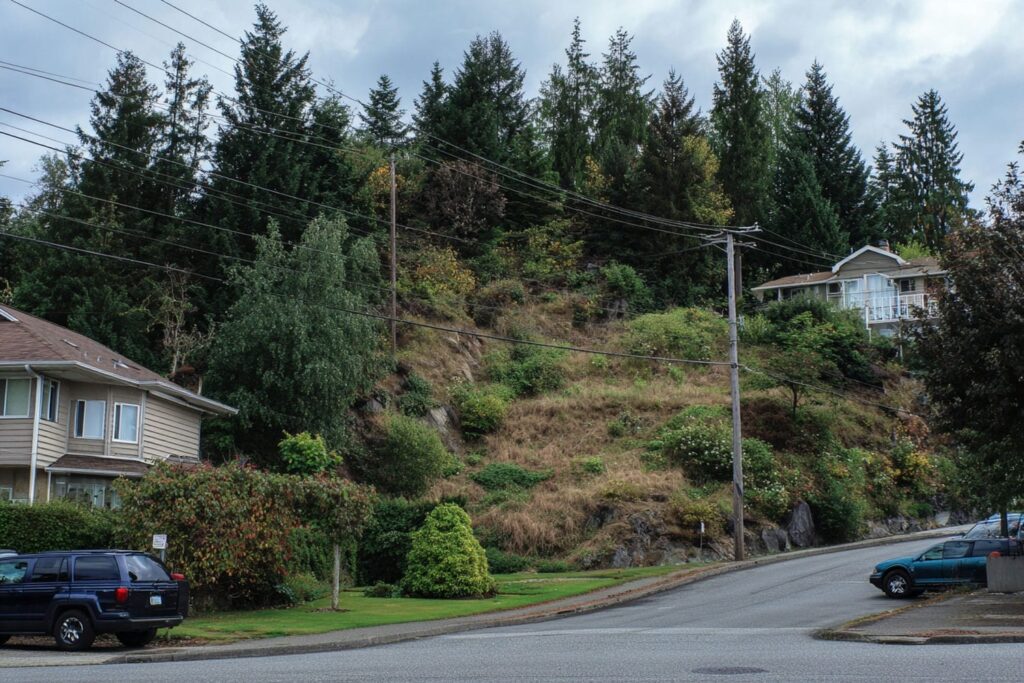
- DPA 2 Hazardous Slopes: slope stability and safe building practices can drive geotechnical requirements.
- DPA 3 Sea Level Rise: flood construction levels and resilience details may shape elevations and site works.
- DPA 4 Abandoned Mine Workings Hazards: specialized risk and potential reports depending on location.
- DPA 5 Wildfire Hazard: exterior materials, site clearance, and hazard mitigation can matter.
- DPA 6 Steep Slope Development: site design and earthworks get scrutinized more heavily.
- DPA 7 Nanaimo Parkway Design: design guidelines tied to the parkway corridor.
- DPA 8 Form And Character: design guidelines that affect how the project presents to the public realm.
Not every DPA hits single-family homes equally. But if your lot is inside one, it’s worth treating it as a real schedule driver.
How To Check If Your Lot Is In A DPA
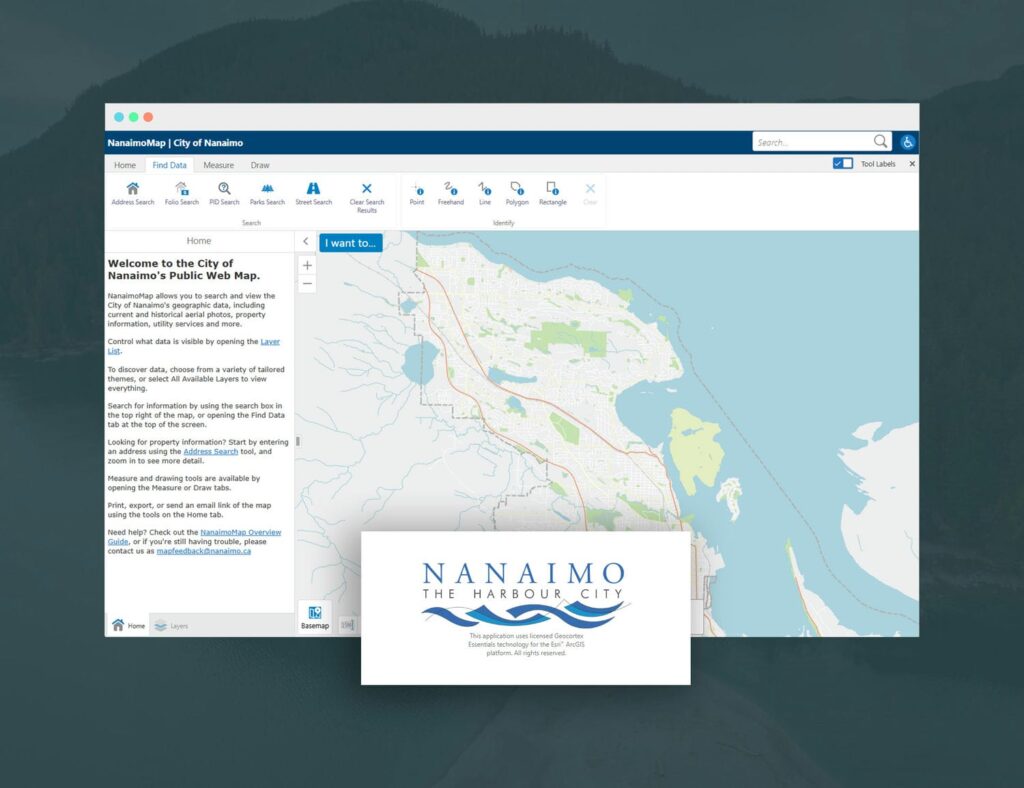
Start by checking mapping, then confirm with Planning. NanaimoMap is the City’s public mapping portal and it’s a solid first pass for property context.
Here’s the catch: maps help you ask better questions, but they don’t replace a pre-application discussion. Every property and proposal is unique, and the City notes application requirements can vary.
Do You Need A Development Permit For A Custom Home?
If your property is in one or more Development Permit Areas, you may need a Development Permit before you obtain your building permit.
That single sentence is why we tell people to check DPAs early. A DPA requirement discovered late can force rework and slow approvals.
What “May Need” Really Means
“May need” is the City being accurate, not evasive. DP requirements can depend on what you’re building, what you’re changing, and whether you’re asking for variances.
Your job as a homeowner is not to memorize bylaws. Your job is to avoid designing a home you can’t permit on that lot without a redesign.
The Most Common Custom Home Triggers
Most custom home DP friction comes from a handful of themes:
- Slope and hazard constraints (including steep slopes and areas that require geotechnical support)
- Environmental sensitivity (riparian zones, trees, and site disturbance limits)
- Wildfire interface concerns (especially where hazard mitigation is required)
- Form and character expectations in areas where design guidelines apply
- Drainage and servicing constraints that turn “simple grading” into engineered site works
If you’re already thinking “this lot is tricky,” assume the City will want you to prove the solution is safe and compliant.
The Development Permit Sequence In Nanaimo
Step 1: Pre-Application Meeting
Before you submit, the City directs applicants to book a pre-application meeting to discuss the project and determine requirements.
This meeting is where you reduce wasted effort. You want clarity on the applicable DPA(s), required drawings, expected reports, and whether any design advisory review is likely.
Step 2: Submit A Complete Application
The City’s process starts with submitting a complete application, including the fee.
Complete is the key word. Most delays come from missing pieces, unclear drawings, or unsupported assumptions that trigger a “revise and resubmit” loop.
Step 3: Design Advisory Panel For Certain DPAs
For DPA 6, 7, and 8, the City notes you and your design team make a presentation to the Design Advisory Panel (DAP).
Think of this as a design scrutiny checkpoint. It’s not automatically bad news, but it does mean you should expect an additional step, additional feedback, and potentially revisions.
Step 4: Comprehensive Review And Referrals
The City describes a comprehensive review where your application is referred to other City departments and external agencies, and revised plans or additional documents may be required.
This is where “tight documentation” pays off. If your drawings, site plan, and supporting reports tell one coherent story, review is smoother. If they conflict, you burn time.
Step 5: Approval Path
If the application involves requesting a significant variance, the City notes staff recommendations go to Council for approval.
If you aren’t applying for a major variance, the City describes a delegated approval path where staff recommendations go to the Director of Planning & Development.
The takeaway is simple: variances can change both complexity and timeline. Avoid “designing into a variance” unless you understand the trade-offs.
Step 6: DP Issuance And Land Title Registration
Upon approval, the City states the Development Permit is prepared and forwarded to the applicant, and a Notice of Permit is forwarded to the Land Title and Survey Authority of BC for registration on title.
That matters because DP conditions can follow the land. It’s one more reason to take DP requirements seriously and document compliance properly.
How Long A DP Is Valid
The City states that once approved, a Development Permit is valid for 2 years.
So you want to align DP timing with your design and financing plan. Don’t rush into DP if you’re not ready to move forward. Don’t delay DP if the project is otherwise ready to proceed.
Timelines: What Adds Weeks

The City doesn’t give one universal DP timeline because every property and proposal is unique. What you can do is control the biggest drivers of delay.
Completeness Is Everything
Incomplete submissions create a predictable cycle: review pauses, City requests more information, you resubmit, and you re-enter the queue.
You reduce this by treating the DP submission like a package, not a handful of drawings. Your drawings, reports, and rationale should all match and support the same approach.
Scheduling Around DAP And Referrals
If your DP needs a DAP presentation (DPA 6, 7, or 8), you’ve added a scheduled step that you need to plan around.
Referrals also add time because feedback comes from multiple directions. That’s not the City being difficult. That’s the City trying to identify conflicts before they turn into field problems.
Variances Change The Clock
Major variances can push an application toward a Council decision path. The City flags that significant variances involve a staff report going to Council for approval.
A variance isn’t “free.” Even if it’s approved, it often costs time in revisions, justification, and review. If you want a predictable schedule, avoid designing your project around hopeful exceptions.
Builder Takeaway
A builder can’t control every review timeline. We can control the quality of the submission and the clarity of the plan. That’s why we front-load feasibility and documentation. It’s also why a detailed build schedule matters. Permit uncertainty is one of the easiest ways to blow timelines if you don’t plan for it.
Fees And Real Costs
City fees are only one part of the cost picture. The larger “real cost” is usually consultant work and revisions driven by DPA requirements.
City Application Fee Formula
Application fees are $750 + $2 per 100 m² of new/additional gross building floor area, to a maximum of $2,000, with exceptions (including certain watercourse development permits and heritage alteration permits).
Fees change over time, so treat this as a reference point, not a quote. Always confirm on the City site when you’re budgeting.
Consultant Reports You May Need To Budget For
Depending on the DPA and your site conditions, you may need:
- Geotechnical work (common on slopes and hazard-related DPAs)
- Civil and drainage design (stormwater, driveway grades, erosion control)
- Environmental or riparian assessments (where sensitive areas apply)
- Survey updates and site plan refinement
- Designer or architect revisions after feedback
These aren’t “nice-to-haves.” If the City needs them to make a decision, they become part of your timeline and cost whether you planned for them or not.
Conditions, Bonds, And “Cost You Didn’t Expect”
DP conditions can require design changes or site works you didn’t anticipate: drainage upgrades, erosion control measures, slope stabilization approaches, or access changes.
The practical lesson is to budget for the site you have, not the site you wish you had. A clean DP approval often reflects a realistic plan, not a cheap one.
How Development Permits Connect To Building Permits
This is the part homeowners get wrong most often: they assume they can always push straight to a building permit.
DP Often Comes Before Building Permit
You may need a Development Permit before you obtain a building permit.
So if you skip DP verification and go straight into full building permit drawings, you risk doing expensive work that can’t move forward until DP is resolved.
Align Your Drawings With DP Conditions
DP conditions and guidelines need to show up in your building permit drawings. If you treat DP as “a separate file,” you create a mismatch that causes rework and delays.
The clean approach is to treat DP as part of your design basis. When the DP is approved, the project documentation should already be aligned with those conditions.
Read This Next If You Want The Full Permit Sequence
If you’re trying to understand how all permits stack together in the real build order, use our Nanaimo permit guide. It covers the broader picture without turning this DP article into a repeat.
DP Triggers That Commonly Touch Custom Home Design
DP triggers aren’t theoretical. They change what you draw and what you build.
Slopes And Hazard Areas
If your lot involves slope, fill, or instability concerns, you should expect the City to want evidence that the design is safe and suitable. The City’s DP page points readers to geotechnical guidance for several hazard-related DPAs.
If you want a homeowner-friendly breakdown of when geotechnical reports tend to show up on Nanaimo builds, start here.
Drainage, Driveways, And On-Site Servicing
DP conditions often collide with on-site realities: stormwater routing, driveway grade, and where services can reasonably run.
If you want the practical checklist that catches servicing surprises early, this guide helps you confirm the fundamentals before permits and drawings get expensive.
Inspection Planning And Build Sequencing
A smoother permit path usually means a smoother build path. When early approvals are clear, you reduce late redesigns and field changes.
If you want a high-level understanding of how inspections fit into a custom build (without drowning in code language), read our BC Building Code basics guide.
If You’re Outside Nanaimo City Limits
Same Concept, Different Forms
Outside Nanaimo, “development permit” requirements don’t disappear. They change. Different local governments designate Development Permit Areas through their own Official Community Plans and guidelines.
For example, the Regional District of Nanaimo notes it has multiple development permit areas across its official community plans, and guidelines can vary by area and purpose.
Why This Matters In Our Service Area And Gulf Islands
If you’re building in the mid-Island region or on a Gulf Island, the approval path can include different authorities and different constraints.
You may also be solving different servicing assumptions at the same time. Some areas don’t have municipal water or sewer, which changes feasibility and design decisions. It’s not a focal point, but it is the kind of local detail that matters when you want a predictable plan.
Quick Reference Table
Use this as a fast “save and share” cheat sheet. It won’t replace a pre-application meeting, but it will help you ask the right questions early.
| DPA Type (Nanaimo) | Typical Trigger On Custom Homes | Common Supporting Docs |
| DPA 1 Environmentally Sensitive | Near sensitive areas or tree constraints | Site plan, environmental notes, mitigation |
| DPA 2 Hazardous Slopes | Slope stability concerns | Geotech input where required |
| DPA 3 Sea Level Rise | Flood/sea level resilience | Elevation strategy, site works |
| DPA 4 Mine Hazards | Known hazard areas | Specialized assessments |
| DPA 5 Wildfire Hazard | Hazard mitigation needs | Exterior/material strategy |
| DPA 6 Steep Slope | Steep slope guidelines apply | Slope-related design + possibly geotech |
| DPA 7 Parkway Design | Parkway corridor rules | Corridor guidelines alignment |
| DPA 8 Form And Character | Design guideline review | Elevations, massing, design rationale |
For the authoritative DP process steps, DAP requirement, and fee formula, use the City’s DP page as your source of truth.
Keep Your Nanaimo Build Moving With A Permit-First Plan
Development permits don’t ruin schedules. Unplanned development permits ruin schedules. If you confirm DPAs early, align your design to the guidelines, and submit a complete package, you reduce rework and keep your build timeline predictable.
Southpaw Homes builds with a fixed-price contract model, a meticulously planned build schedule, and a client portal with daily logs and progress photos so you always know what’s happening. We’re a BC Housing Licensed Residential Builder with WorkSafeBC coverage and $5M commercial liability insurance. If you want a permitting plan that supports the build instead of slowing it down, work with an experienced custom home builder in Nanaimo.
FAQs
Do I Need A Development Permit For A Single-Family Home In Nanaimo?
If your lot is within one or more Development Permit Areas, you may need a Development Permit before obtaining your building permit. The fastest way to avoid rework is to confirm DPAs early and plan your design and reports around the requirements.
How Do I Check If My Property Is In A Development Permit Area?
Start with NanaimoMap to understand your property context, then confirm the requirements with Planning during a pre-application discussion. Maps help you ask better questions. The City’s pre-app step is where you confirm what applies to your specific proposal.
What Is The Development Permit Process In Nanaimo?
The City describes the process as: pre-application meeting, submit a complete application, DAP meeting for DPA 6/7/8, comprehensive review and referrals, approval path (Council for major variances or delegated approval), and then permit issuance with Land Title registration. Expect revisions if departments or agencies request clarifications or additional documentation.
How Long Is A Nanaimo Development Permit Valid?
The City states an approved Development Permit is valid for 2 years. That means you should time your DP submission so you can actually move forward, not just “collect approvals.”
How Much Does A Development Permit Cost In Nanaimo?
DP application fees are $750 + $2 per 100 m² of new/additional gross floor area, up to a maximum of $2,000, with exceptions. City fees are only part of the total cost. Consultant work and revisions often cost more than the application itself.
Do Development Permits Get Registered On Title?
Yes. On approval, a Notice of Permit is forwarded to the Land Title and Survey Authority of BC for registration on title. This is why DP conditions matter beyond “paperwork.” They can affect future decisions tied to the property.
Can I Apply For A Building Permit Before The Development Permit Is Approved?
You may need a DP before obtaining a building permit. In practice, confirm DP requirements first. Otherwise you risk paying for building permit drawings that need revision once DP conditions are known.
What Usually Slows Down A Development Permit?
Incomplete submissions, extra reports, revisions after referrals, DAP scheduling (when required), and major variances are common delay drivers. The best way to reduce delays is to submit a cohesive package: consistent drawings, clear rationale, and the right consultants involved early.